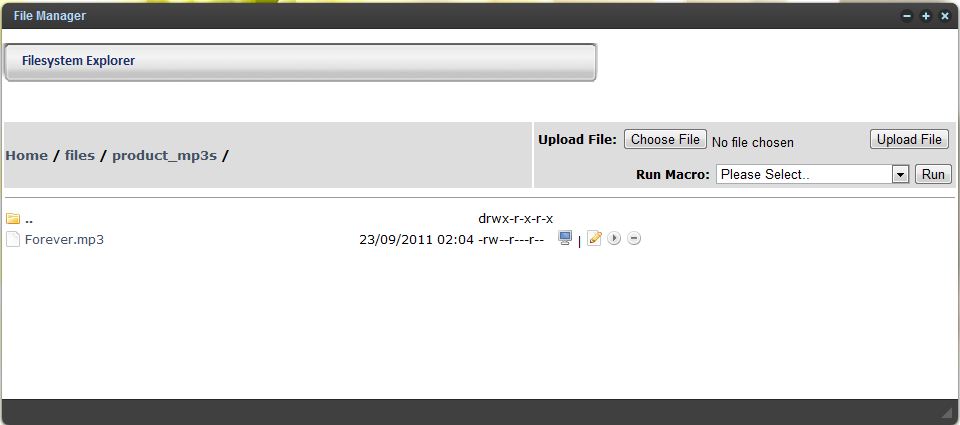
Fig 6.1 - the file manager.
6. File Management

Files are dealt with in a similar way as images but through the File Manager. The file manager icon (pictured left) can be found on the desktop.
Again, this pops up a window containing the "filesystem explorer". Here you can upload, rename and delete files inside this folder and in any sub folders if they are present.
Linking to files from elsewhere in your site.
It is possible to provide links on the web site to download these files. First ensure that the file is uploaded to the correct directory - not all the sub folders in the file manager are set up to be treated as containing web downloadable content, however by default the root directory 'Home / Files' (NB This may also be called Home / Downloads on your system) is by default made available to all of the Rich Text editor sections of your web site, where the files within can be selected from a drop down list.
To create a download link you need to go into the administrator anywhere where you see the Rich Text Editor deployed. Then place the cursor into the document and highlight text (or clicking on an image if an image is to be tbe button which links to the file), then click the link button:  from the text editor toolbar. This will pull up the 'links' window. Note that the drop down list contains a list of web site pages at the top - listing all the basic pages in your web site, and below this list is a list of all the files you have uploaded.
If you have a directory structure in your files folder with further folders, one of these may serve as the web downloadable section instead of the base file directory depending on how your web site or application has been built. There will be separate site specific documentation about this if it is set up this way.
Further Support
For
further help and support, please contact Paragon Digital on 0775 646 0555.